
How to Make Professional Bonbons:
- Jul 25, 2017
- 3 min read
First things first: what exactly is a bonbon?
A bonbon is a candy consisting of a tempered chocolate shell and a filling, which can be as simple as a milk chocolate ganache or more elegantly layered patê de fruit, mousses, actual fruit, or stabilized and specially flavored whipped cream. They can be dipped, dressed, or molded (using special molds available online or in some kitchen equipment stores).
Tempering Chocolate? What's that?
Tempering is a process of heating and cooling chocolate to certain temperatures in order to get the characteristic snap of a chocolate bar. Ever melted chocolate at home only to find that even after hours in the fridge, it was sticky, soft, or even gluey? This is because the crystals of cocoa butter are haphazardly strewn about in the chocolate. Tempering allows the crystals to set in an even and uniform manner, leading to the firm, breakable chocolate bars we all know and love? Sound complicated and scary yet? It doesn't have to be. Tempering chocolate is a quick process mostly comprised of simply moving the chocolate around, until a certain temperature is reached. Easy!
Step 1: Preparation
When making bonbons, it is best to have all of your equipment within an arms reach. Tempered chocolate cools quickly, and will solidify if not kept at an approximate temperature.

Pictured is my equipment for bonbon making. The only thing not pictured is a pot of hot (not boiling) water on the stove top behind me. I have a simple round bonbon mold, an offset spatula, a bench scraper, tempered chocolate, and chocolate chips, Now it is time to temper your chocolate.
Step 2: Crafting the Shells
Once you have tempered your chocolate, its time to fill your mold. Pour enough chocolate into the mold to fill up each cavity almost entirely. You can fill each spot individually with a pastry bag or ladle; or simply dump a large amount on top and scrape it off using the bench scraper or spatula. Once they are filled, its time to knock out the air bubbles. Either tap the mold gently on the counter for about fifteen seconds, or tap the side using the bench scraper with the handle, not the blade.
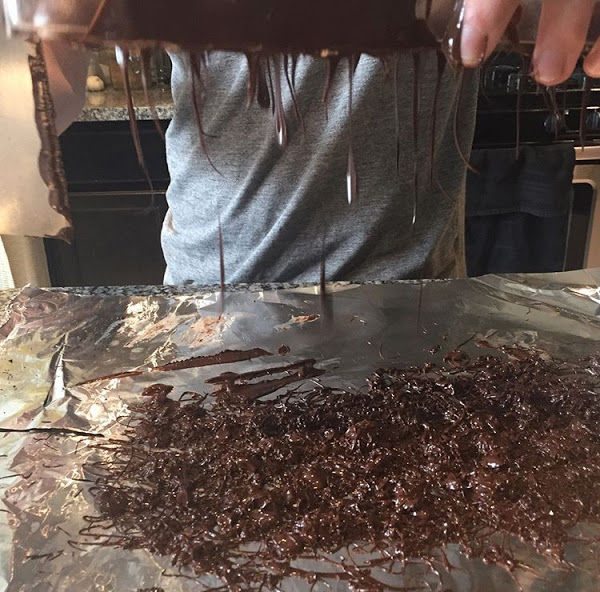
Now it's time to knock out the excess. Once again, tap it with the bench scraper (not the blade), for about 15 seconds. This can be done over wax paper (preferred over tin foil, which tears easily), in the bowl, or onto the (incredibly cleaned) counter. Run the bench scraper over the cavities and sweep the chocolate off, and then clean off the sides. Get as much chocolate off as you can. Set the pan upside down on some wax paper, and place it in the fridge for a few minutes to set.
Step 3: Filling
When the chocolate has set, fill them just over 2/3 of the way full. You want space for the tempered chocolate to bond to the shell, making a completed bonbon. For the ones pictured i put 2-3 coffee beans into each shell, and topped it off with espresso ganache. Note the small space permitted in each shell.

Once again, I set the bonbons in the fridge for a few minutes so that the filling can set more.
Remember to keep the tempered chocolate at the proper working temperature!
Now, gently and slowly spoon or pour the chocolate over each cavity, being careful not the displace the filling, if fluid enough to do so. For beginners, I recommend thick ganaches (not quite able to hold its shape) or thick caramel sauces. Clear off the extra chocolate, without tipping the pan. Set it into the fridge once more to set.
Step 4: Unmolding
To unmold the bonbons, quickly flip over and tap the mold hard against the counter, repeating the process if necessary.

The bonbons should be glossy, smooth, and firmly set.
Comments